Introduction: The Power of Anime Hair in Character Design
Anime hair is far more than just decoration; it’s a fundamental storytelling tool and a defining characteristic of the art form. From the gravity-defying spikes of Dragon Ball Z to the flowing, ethereal locks of Sailor Moon or the intricate braids in Demon Slayer, anime hair drawing sets the tone, reveals personality, and instantly communicates a character’s essence to the viewer. Mastering this element is crucial for any aspiring anime artist, as it bridges the gap between a simple sketch and a truly compelling, recognizable character. Whether you’re a beginner picking up a pencil or a digital artist refining your workflow, understanding the principles behind anime hair drawing unlocks a new level of expressiveness in your work. This comprehensive guide dives deep into the techniques, common pitfalls, and essential tools you need to create stunning, dynamic anime hairstyles that captivate your audience. Get ready to transform your character designs with the power of hair!
Understanding Anime Hair Fundamentals: Shape, Flow, and Volume
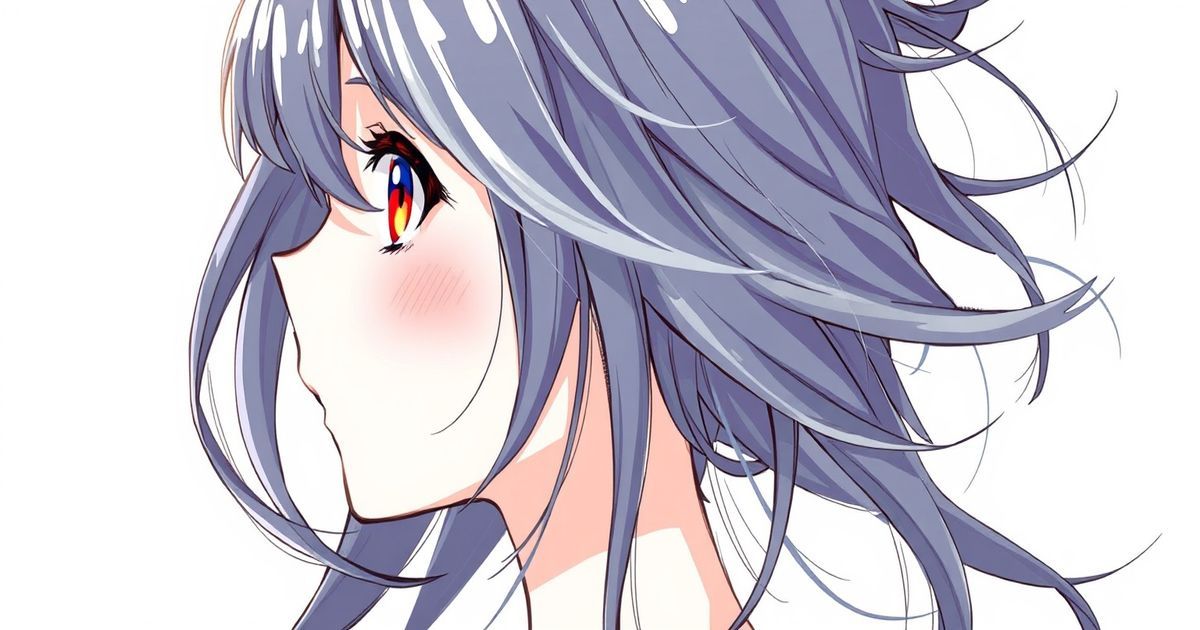
Unlike realistic hair, which often focuses on individual strands and natural movement, anime hair drawing prioritizes bold shapes, strong silhouettes, and expressive flow. The key is to think in terms of volumes and clumps rather than single hairs. Start by identifying the core shape of the hairstyle – is it a sphere, a cone, a crescent, or a series of overlapping geometric forms? This foundational shape dictates the overall direction and energy. Consider the character’s personality: spiky, angular hair often conveys energy, rebellion, or intensity (think Goku or Vegeta), while soft, flowing hair suggests grace, calmness, or mystery (like Sailor Moon or characters from Your Name). Pay close attention to the flow lines – the imaginary paths the hair follows as it moves away from the head. These lines guide the placement of clumps and define the hair’s movement, even when static. Volume is equally critical; anime hair often has exaggerated thickness and bounce. Avoid making hair look flat or like a solid helmet. Instead, suggest depth by varying the size and opacity of clumps, leaving subtle negative space, and indicating where light catches the edges. Remember, the hair should feel like it has weight and substance, yet moves with dynamic energy. Studying references from classic and modern anime is invaluable here. According to Wikipedia’s entry on anime, the distinct visual style, including hair design, is a core element of the medium’s global appeal. For foundational art principles that apply universally, resources like Britannica’s art section offer excellent context on form and volume.
Step-by-Step Guide to Anime Hair Drawing: From Sketch to Refinement
Creating believable anime hair involves a structured process. Follow these essential steps to build your skills:
- Establish the Head and Guideline: Begin with a light sketch of the head shape and the central guideline indicating the hair’s parting and overall direction. This is your roadmap.
- Define the Core Shape: Block in the largest, most dominant volume of the hairstyle. Is it a high ponytail, a wide afro, or a sleek bob? Draw this primary shape lightly, focusing on its silhouette against the background.
- Add Major Clumps: Break down the core shape into 3-5 major clumps or sections. These are the primary flow lines. Draw these as distinct, overlapping shapes, considering how they interact and where they originate from the head. Think of them as the “rivers” of hair.
- Refine with Secondary Clumps: Within each major clump, add smaller, secondary clumps. These provide texture and break up the larger shapes, preventing a flat appearance. Vary their size and direction slightly for naturalism.
- Define Edges and Highlights: Refine the outer edges of the hair, adding subtle wisps and stray strands for realism. Then, indicate the primary light source and add key highlights (often as thin, curved lines on the top or sides of clumps) and shadows (darker areas where clumps overlap or beneath the main volume). This step brings the hair to life.
- Final Details and Clean-Up: Add the finest details – individual strands for emphasis, intricate braids if applicable, and any accessories. Erase unnecessary construction lines and darken your final outlines where needed. Step back and assess the overall flow and balance.
This methodical approach ensures your anime hair drawing has structure and dynamism. Practice this sequence with simple styles before tackling complex ones. For more structured learning and community support, explore our resources dedicated to anime art fundamentals.
Common Mistakes to Avoid in Anime Hair Drawing
Even experienced artists can fall into traps that make anime hair look amateurish. Being aware of these pitfalls is half the battle:
Overcomplicating with Strands: Trying to draw every single hair strand results in a messy, lifeless scribble. Focus on clumps and shapes* first; individual strands are only for final emphasis in key areas.
Ignoring the Head Shape: Hair grows from* the head. Failing to consider the skull’s curvature (especially the crown and jawline) makes hair look like a separate, floating entity. Always anchor clumps to the head structure.
- Flat Silhouettes: Anime hair needs strong, clear silhouettes. If the outline of the hair against the background is weak or indistinct, the whole design suffers. Ensure your core shape is bold and readable.
Lack of Flow and Direction: Hair doesn’t just sit; it flows*. Without clear directional lines guiding the clumps, the hair appears static and unnatural. Identify the primary flow direction early.
- Inconsistent Lighting: Highlights and shadows must follow a single, logical light source. Randomly placed highlights destroy the sense of volume and make the hair look patchy or confusing.
- Forgetting Weight and Gravity (Even in Anime): While exaggerated, hair still has weight. Extremely long hair should show some drag or movement indicating its mass, not float unnaturally. Spikes need a sense of root strength.
Avoiding these errors significantly elevates the professionalism of your anime hair drawing. Analyze your favorite anime characters critically – notice how masters like Akira Toriyama or CLAMP handle these elements seamlessly.
Essential Tools and Resources for Modern Anime Artists
Whether you prefer traditional pencils or digital tablets, having the right tools streamlines your anime hair drawing process. For traditional work, a range of graphite pencils (2H for light guides, 2B-6B for shading and details) and a good kneaded eraser are essential. Blending stumps help create smooth gradients in shadows. Digital artists benefit immensely from pressure-sensitive tablets (like Wacom or iPad Pro) and software such as Clip Studio Paint (highly recommended for manga/anime), Procreate, or Photoshop. Key digital features include:
- Custom Brushes: Create brushes specifically for hair clumps, strands, and texture. Many free and paid brush sets are available online.
- Layer Management: Use separate layers for sketch, base shapes, shading, highlights, and line art. This allows non-destructive editing.
- Reference Tools: Utilize the symmetry tool for balanced styles or perspective grids for complex angles. Always keep reference images handy.
Don’t underestimate the power of studying real hair and anime references. Observe how light interacts with hair in photos, then analyze how your favorite anime studios stylize those principles. Online platforms like Pinterest or ArtStation are treasure troves. For specialized tutorials and community feedback, check out our website regularly. Remember, the best tool is consistent practice combined with critical observation.
Conclusion: Unlock Your Anime Hair Drawing Potential
Mastering anime hair drawing is a journey that transforms your character art from good to extraordinary. By understanding the core principles of shape, flow, volume, and light, and by diligently practicing the step-by-step process while avoiding common mistakes, you develop the ability to infuse your characters with instant personality and visual impact. Remember, anime hair is a powerful language – it speaks volumes about who your character is before they even say a word. Embrace the stylization, focus on strong silhouettes and dynamic movement, and let your hair designs become a signature element of your artistic voice. The techniques outlined here provide a solid foundation, but true mastery comes from persistent practice and studying the greats. So, grab your tools, sketch fearlessly, and watch your characters come alive with vibrant, expressive hair. Ready to take your skills further? Visit here for exclusive tutorials, brushes, and a community of fellow anime artists to inspire your next masterpiece! Start drawing today – your perfect anime hairstyle is waiting to be created.